Tip of the Month
Sage 100 Tip of the Month: Apply outstanding vendor credits to open invoices
Managing vendor balances accurately is essential for maintaining clean financial records and avoiding duplicate or unnecessary payments. In Sage 100, vendor credits, such as returns, overpayments, or adjustments, can remain unapplied if not handled properly, leading to confusion and reporting inaccuracies.
Fortunately, Sage 100 provides a straightforward way to apply outstanding credits directly to open invoices using Manual Check and Payment Entry. This month’s tip walks through how to apply those credits efficiently and ensure your Accounts Payable records stay accurate and up to date.
Tip summary
Sage 100 allows users to apply vendor credits to open invoices through the Manual Check and Payment Entry screen. By selecting both the credit (negative transaction) and the invoice (positive transaction), users can offset balances without issuing a physical payment.
This process helps reduce outstanding liabilities, keeps vendor accounts accurate, and improves visibility into true payables.
Steps: How to apply an outstanding credit to an invoice in Sage 100
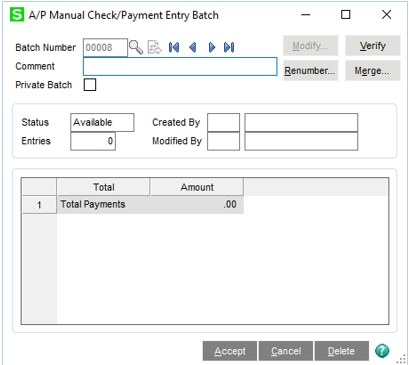
Step 1: Access Manual Check and Payment Entry
Navigate to:
Accounts Payable > Main > Manual Check and Payment Entry

If you are using batch processing, you will be prompted to create or select a batch:
- Enter a batch number manually, or
- Click the lookup button to have the system assign the next batch number
- Click Accept
Step 2: Enter header information
Complete the following fields:
- Bank Code – Enter the appropriate bank code
- Check No. – Enter “APP###” (APP = Apply; replace ### with any 3-digit number)
- Vendor No. – Enter the vendor number
Leave the Check Amount blank.

Step 3: Select the credit and invoice
Click on the Lines tab.
You will enter two lines:
- The credit (negative transaction)
- The invoice (positive transaction)
- Use the magnifying glass to look up and select the credit you want to apply
- Click Select

- On the next line, use the magnifying glass again to select the invoice you want to apply the credit toward
- Click Select

Step 4: Verify and accept the entry
Once both lines are entered:
- Confirm the Check Distribution Balance is zero
- Click Accept

Step 5: Print and review the Invoice Register
- Click the Invoice Register button (or access it from the Main menu)
- If using batch entry, select the appropriate batch and click Accept

- Choose to Print or Preview the register
- Review for accuracy, paying close attention to:
- Invoice dates
- G/L account numbers
If changes are needed, return to the entry screen before updating.
Step 6: Update the Registers
- When prompted, click Update if everything is correct
- Print or preview the Daily Transaction Register
- Click Update again to finalize the transaction
Why this tip matters
Applying vendor credits correctly ensures your Accounts Payable balances stay accurate and prevents duplicate payments or overlooked credits. By incorporating this process into your workflow, you can improve accuracy and maintain better control over your payables.
If you’d like help optimizing your AP processes or getting more value from Sage 100, our Sage experts are here to help. Contact our team today, and be sure to check back next month for another Sage 100 Tip of the Month.